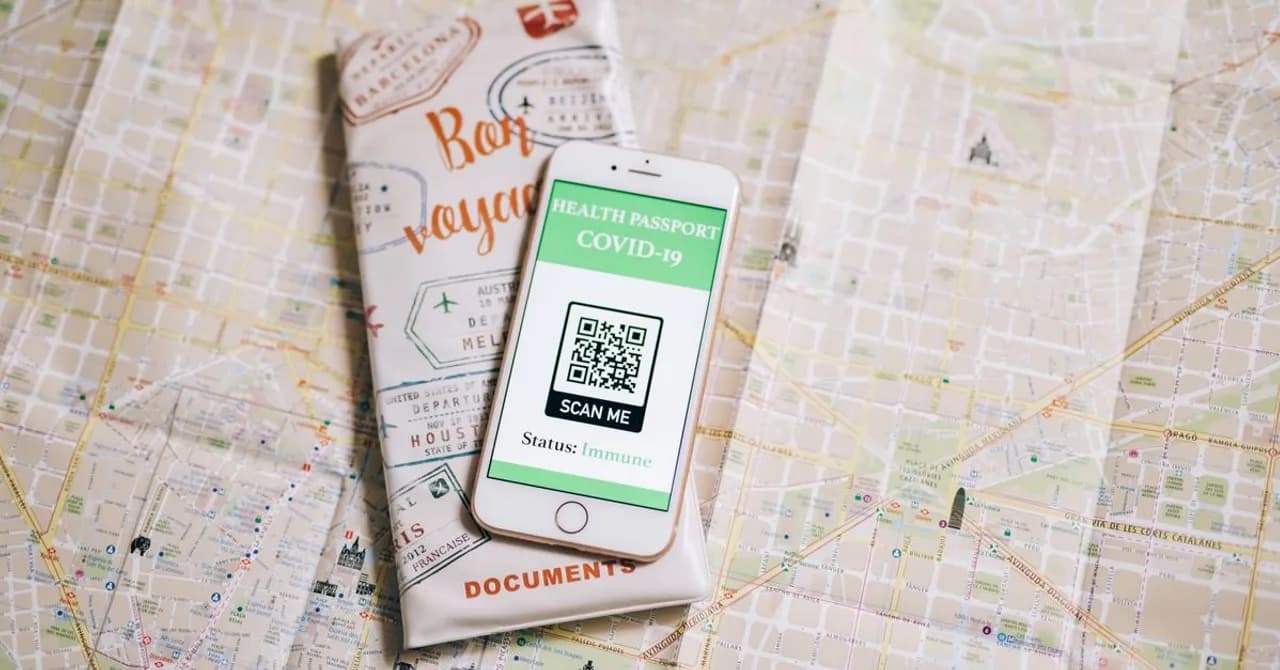
How to install an eSIM without a QR code (manual activation)
Type the details in by hand instead. Your Zwitchy confirmation email carries an SM-DP+ address, which looks like a web domain, and a longer activation code. In your phone's cellular settings, choose to add an eSIM and enter those details manually, leaving the confirmation code blank. You get an identical eSIM either way.
Contents
Most Zwitchy eSIMs install in seconds by scanning a QR code, but sometimes scanning isn't an option. Maybe your phone's camera won't focus, the QR code is on the same phone you're supposed to scan it with, or a printed copy went missing. Manual activation gets you the exact same eSIM by typing in a couple of details instead, and this guide walks you through every step.
When you'd install manually
Manual entry is a fallback, not a downgrade. You end up with an identical eSIM either way. Reach for it when:
- Your camera can't scan a cracked lens, a smudge, or low light stops the code from registering.
- The QR code is on the very screen you'd scan with, for example it arrived by email on the only phone you have.
- A printed code got lost or smudged, but you still have the confirmation email.
- You'd simply rather copy and paste than hunt for good lighting.
Before you start, connect to reliable Wi-Fi and set aside two minutes. Installing does not start your plan; data and validity only begin when you switch the eSIM on at your destination, so there's no rush and no meter running while you set up. If you want the full picture first, see our step-by-step setup guide.
What you need from your Zwitchy email
Every eSIM you buy comes with a confirmation email from Zwitchy. Alongside the QR code, that same email lists the details you type in for manual activation. You're looking for three things:
- SM-DP+ address a server address that looks like a web domain (for example, rsp.example.com). It tells your phone where to fetch the eSIM.
- Activation code a long string of letters and numbers that identifies your specific eSIM.
- Confirmation code an optional extra code. Zwitchy eSIMs usually don't need one, so leave that field blank unless the email gives you a code.
Copy each value straight from the email instead of retyping it, one wrong character is the most common reason manual activation fails.
Install manually on iPhone
On iPhone (iOS 17 or later), the manual path sits one tap away from the QR scanner:
- Open Settings > Cellular (called Mobile Service or Mobile Data in some regions).
- Tap Add eSIM, then Use QR Code.
- Instead of scanning, tap Enter Details Manually at the bottom of the screen.
- Paste the SM-DP+ address and the activation code into their matching fields. Leave the confirmation code blank unless your email lists one.
- Tap Next, then Add eSIM, and wait for it to finish installing.
- When prompted, give the eSIM a clear label like "Zwitchy Travel" so it's easy to find later.
Apple documents this same flow, including the manual option, in its Set up eSIM on iPhone guide.
Install manually on Android
Android wording varies by brand (Samsung, Pixel, and others differ slightly), but the idea is the same: start adding an eSIM, then choose to enter the details by hand instead of scanning.
- Open Settings > Network & internet (or Connections) > SIMs, and tap Add eSIM or Add SIM.
- Choose Set up eSIM, then look for Need help? or Enter it manually when the scanner opens.
- Enter the SM-DP+ address and activation code exactly as shown in your email. Some phones ask for one combined "activation code" instead, if so, paste the full string that starts with LPA:1$.
- Confirm, wait for the download to finish, then label the eSIM so you recognise it.
Google's set up a Pixel eSIM page shows the equivalent steps; on Samsung the menu names differ, but the manual-entry option is in the same place.
Turn it on at your destination
Installing the eSIM is only half the job. To confirm it worked and get online when you land:
- Check that the new eSIM appears in your cellular/SIM list with the label you gave it, that alone confirms the install succeeded.
- When you arrive, switch the Zwitchy eSIM on and select it for data.
- Turn Data Roaming ON for the Zwitchy eSIM. It only ever uses local partner networks, so this never produces a roaming bill.
- Keep your home SIM's roaming OFF and turn off automatic data switching, so your phone can't quietly fall back to your home carrier.
Your home SIM stays active the whole time for calls, texts, and bank OTP codes, the Zwitchy eSIM only carries data. Your plan's data and validity start the moment you connect abroad, not when you install.
Usage alerts arrive at 80% and 100%, and any top-up attaches to the same eSIM instantly, with no reinstalling.
Common pitfalls (and quick fixes)
| Problem | Fix |
|---|---|
| "Invalid" or "cannot add" error | Recheck for typos and a trailing space at the end of a pasted value, then delete the eSIM entry and re-enter it. |
| Address and code swapped | The SM-DP+ address looks like a domain; the activation code is the longer random string. Make sure each sits in its own field. |
| Phone asks for a confirmation code | Leave it blank for Zwitchy eSIMs unless the email actually gives you one. |
| Nothing downloads | Manual activation needs internet, connect to Wi-Fi or your home mobile data and try again. |
| "Already used" message | Each eSIM installs only once. If you removed it, you'll need a fresh eSIM rather than reinstalling the old code. |
If an install fails after a genuine attempt, don't keep hammering the same code, one careful retry after fixing the typo is fine, but repeated failures almost always point to a stray character.
When to just go back to the QR method
Manual entry and scanning produce the same eSIM, so use whichever is easier. If you have a second screen or a printout handy, scanning is faster and skips the typos entirely. If the code simply won't scan, our QR code not scanning guide covers every fix, and the Zwitchy install page can reopen your QR and details whenever you need them. Still stuck after installing? Work through the connection troubleshooting guide.
Is a manually installed eSIM any different from a scanned one?
No. You get the exact same eSIM and the same data plan; only the installation method differs.
Where do I find the SM-DP+ address and activation code?
In your Zwitchy confirmation email, listed right next to the QR code. You can also reopen them any time from the Zwitchy install page.
Do I need the confirmation code?
Usually not. Zwitchy eSIMs typically activate without one, so leave that field blank unless your email provides a code.
Does installing manually start my plan or use data?
No. Installation is free and doesn't touch your allowance. Your data and validity begin only when you switch the eSIM on at your destination.
Can I reinstall the same code if I delete the eSIM?
No. An eSIM can be installed only once, so if you remove it you'll need a new eSIM. Avoid deleting it unless you're sure.