eSIM says "No Service" abroad? How to fix it

Turn Data Roaming ON for the travel eSIM, set it as the mobile data line, then toggle Airplane mode for ten seconds. That clears most No Service and Forbidden messages in under a minute. If one network still shows Forbidden, pick a different partner network manually, a normal part of roaming, not a sign the eSIM is broken.
Contents
Landing after a long flight and seeing "No Service", "Searching", or the more alarming "Forbidden" instead of bars is one of the most unsettling things a travel eSIM can show you. It looks like the eSIM has failed. Almost always, it hasn't: your phone just hasn't been told which network to use yet, or it briefly tried one it isn't allowed on and is still looking for the right one. Here's what each status actually means and the order to fix it in.
What "No Service", "Searching" and "Forbidden" actually mean
A travel eSIM doesn't run its own towers, it rides local partner networks the same way your home carrier lets you roam onto a foreign one. "Searching" means your phone is scanning for any network it's allowed to register on and hasn't found one yet. "No Service" means it gave up looking, usually because Data Roaming is off, so the phone won't even consider a network outside your home carrier's own list. "Forbidden" is more specific: your phone tried a particular network and was turned away, typically because Data Roaming was off at that moment, or because it briefly latched onto a network that isn't one of the eSIM's roaming partners in that country. None of the three means the eSIM itself is broken, they describe where in the registration process your phone got stuck.
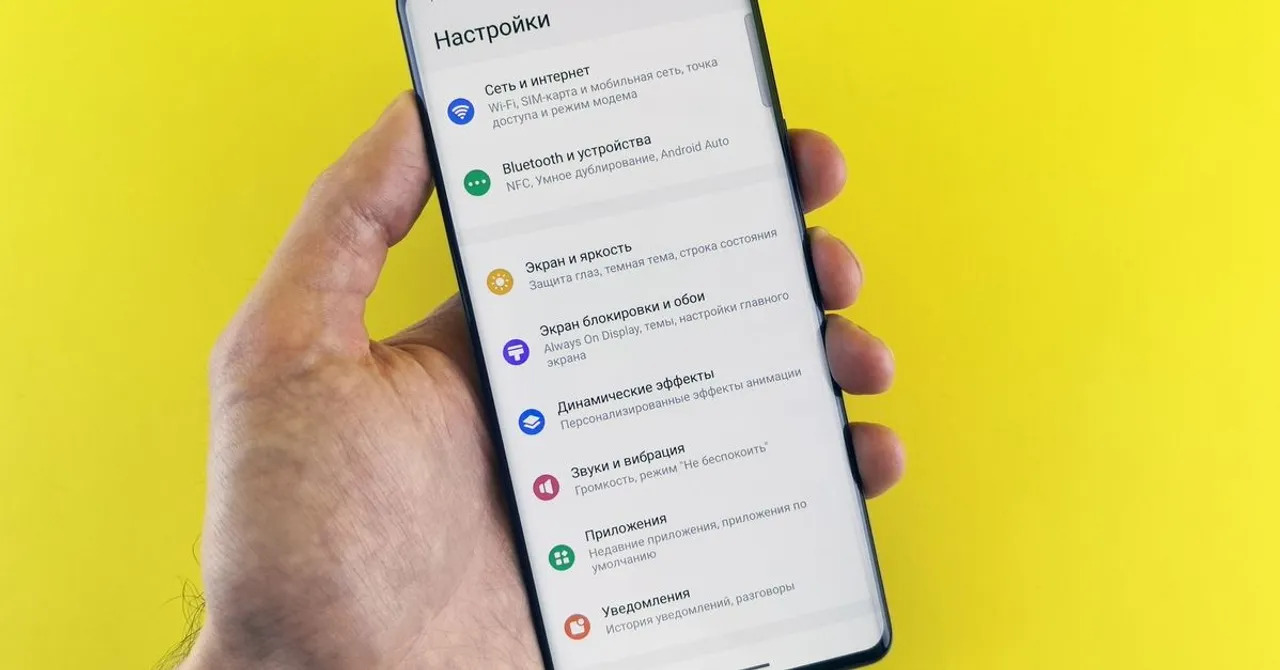
Step 1: Turn on Data Roaming for the eSIM
This is the fix that clears the large majority of these cases. On iPhone: Settings → Cellular → [your eSIM line] → toggle Data Roaming ON. On Android: Settings → Network & internet → SIMs → [your eSIM] → Roaming ON (Samsung: Connections → SIM Manager). It feels backward to turn roaming on for an eSIM you bought specifically to avoid roaming charges, but that's exactly what a travel eSIM is built to do, and it never bills you extra for it. Our guide to Data Roaming covers why the setting is safe if you want the longer explanation.
Step 2: Confirm the eSIM is the active data line
A "Forbidden" message can also show up when your phone is still trying to route data through your home SIM instead of the travel eSIM. On iPhone: Settings → Cellular → Cellular Data, and choose the Zwitchy line. On Android: the same SIMs screen where you set Roaming, set the eSIM for Mobile data. If both lines are active, also check "Allow Data Switching" (iPhone) or the automatic-switching option (Android) and turn it off, so the phone can't quietly fall back to a network your eSIM isn't provisioned for.
Step 3: Force a re-scan
Switch Airplane mode on, wait ten seconds, switch it off. This makes the phone drop whatever it was stuck on and search again from scratch, which alone resolves a "Searching" or "Forbidden" status that's really just a stale registration attempt. If that doesn't clear it, a full restart does the same thing more thoroughly.
Step 4: Pick the network manually
Most countries have more than one partner network an eSIM can use, and occasionally a phone latches onto the wrong one on its own. Turning off automatic selection and picking a different network from the list is often the actual fix behind "try restarting a few times and it eventually works": iPhone → Settings → Cellular → [eSIM] → Network Selection, turn Automatic off, wait for the list, then pick another entry. Android: Settings → Network & internet → SIMs → [eSIM] → Network operators → Search networks. Google's own guide to connecting to mobile networks walks through the same screen if yours looks different. Switch back to Automatic once you're connected, so the phone reselects the best network on its own from then on.
Seeing "Forbidden" next to one specific network name is not a sign your eSIM is blocked or broken, it just means your phone tried a network the eSIM isn't allowed to use in that country. Picking a different one from the same list is a normal, expected part of how roaming works, every phone that roams internationally goes through this occasionally.
Common statuses and what to do
| What you see | Most likely cause | Fix |
|---|---|---|
| Searching… | Phone hasn't found an allowed network yet | Wait 30–60 seconds, then Airplane mode toggle |
| No Service | Data Roaming is off | Step 1 |
| Forbidden | Data Roaming was off, or wrong network selected | Steps 1 and 4 |
| SOS only | No partner network in range at all | Move location; check the plan covers this country |
| Signal bars, still no internet | eSIM installed but not the active data line | Step 2 |
"SOS" (or "SOS only") is worth calling out separately: it means the phone genuinely can't find any network, including emergency ones, rather than being turned away from one it can see. That's usually a coverage gap rather than a settings problem, so check you're in an area the plan actually covers before working through the steps above again.
If none of this clears it
Work through the steps in order once, since they build on each other, restarting before checking the network selection just re-triggers the same automatic pick. If you're still seeing "No Service" or "Forbidden" after all four steps, it stops being a settings problem, Apple's own troubleshooting guide for SOS, No Service and Searching reaches the same conclusion for a phone's own SIM. At that point, live chat can check the eSIM's status directly and reissue or reprovision it if something's genuinely wrong on our end, rather than you cycling through the same toggles again. If the eSIM never finished installing in the first place, that's a different problem with its own fixes.
A phone that shows Forbidden and then reconnects a minute later on its own, or briefly passes some data before dropping back, is usually mid-registration rather than failing outright, give the steps above a full pass before assuming the worst. And if the connection comes and goes rather than staying down, that's a distinct symptom with its own guide: why does my eSIM keep dropping?
Does "Forbidden" mean my eSIM has been blocked?
No. It means your phone tried a specific local network it isn't allowed to use for roaming and was turned away, a normal, expected step in how international roaming works. It says nothing about the eSIM's own status.
Why did my phone briefly connect, then drop back to No Service?
That's usually a phone latching onto a network briefly before its registration is rejected. Toggling Airplane mode and, if it keeps happening, manually picking a different partner network from the list usually settles it.
Is this different from seeing "SOS" or "SOS only"?
Yes. SOS means no network at all is in range, including emergency ones, which points to a coverage gap rather than a settings issue. No Service and Forbidden both mean at least one network is visible, your phone just isn't using it yet.
Will this fix itself if I just wait?
Sometimes, since phones re-scan periodically on their own. But turning Data Roaming on and forcing a re-scan with Airplane mode is faster and resolves it in the large majority of cases within a minute or two.
Can I choose which network my eSIM uses?
Yes, most countries have more than one partner network. Turn off automatic network selection in your cellular settings and pick a different one from the list, then switch back to Automatic once you're connected.
When should I contact support instead of troubleshooting myself?
After working through the settings steps once. If No Service or Forbidden persists, it's likely something on the provisioning side rather than a phone setting, and live chat can check and fix that directly.


